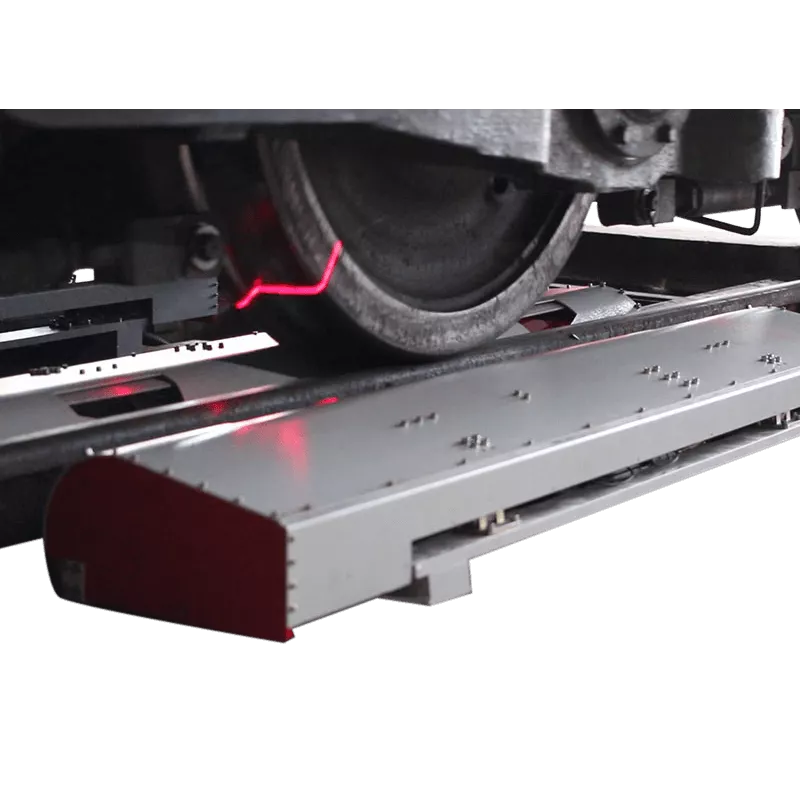
3D Wheel Measurement System
Suited for automated contactless analysis of railway wheels
About the 3D Wheel Measurement System
Our new 3D Wheel Measurement System is collecting reliable and accurate data to improve railway maintenance activities and to prevent damage on rail infrastructure. By making use of high speed laser scanners, it is possible to measure all wheels even at high speeds.
The system consists of 4 sensor-boxes installed on both sides of each railbeam. Just before the train passes by, the windows of the sensor-boxes open automatically letting various 2D Laser Scanners scan sections of the wheels.
All measurements are combined into a point cloud and various algorithms calculate specific parameters such as diameters, flange heights, QR, hollow wear and much more!
In order to always function to perfection a cleaning system, cooling and heating system is integrated.
Benefits of the 3D Wheel Measurement System
- Getting all important data with one system instead of multiple tools
- Accurate and valuable data within seconds
- Eliminate manual measurement errors
- Integrated software system with all necessary calculations and parameters
- Real time measurement of moving train or tram wheels
- Simple train identification based on vision system
- RFid identification of axles of the train
- Easy installation at any rail infrastructure
Measured Parameters
- Diameter of wheels
- Wheel flange height
- Wheel flange thickness
- Wheel flange slope (QR in mm or degrees)
- Wheel hollow wear (in combination with position)
- Specific slopes and angles in profile
- Gap measurement
- Complete profile of wheel as X,Y model
- Back-2-back distance between wheels on same axle
Options
The 3D Wheel Measurement System can be installed in 3 variants:
- Low speed variant for maintenance locations: up to 15 km/hour.
- Medium speed variant for normal train/metro trajectory: up to 180 km/hour.
- High speed variant for in high speed trajectory locations: up to 350 km/hour.
Avez-vous besoin de ce capteur pour votre prochain projet?
Demandez un devis sans engagement ou envoyez-nous vos coordonnées pour une consultation gratuite et sans engagement. Nos ingénieurs commerciaux vous contacteront dans un délai maximum de 1 à 2 jours ouvrables.
Parlez à nos experts
Vous ne trouvez pas exactement ce que vous cherchez ? Nous proposons des capteurs et des systèmes de mesure standard, mais nous pouvons également vous aider à concevoir un capteur sur mesure ou une solution de mesure complète. N'hésitez pas à nous contacter pour obtenir des conseils ou un devis.
Parler à un expertSpécifications techniques
| Spécifications | Valeur |
|---|---|
| Back-to-back gauge (accuracy) | ± 0.05mm |
| Flange angle (accuracy) | ± 0.1mm |
| Flange height (accuracy) | ± 0.1mm |
| Flange width (accuracy) | ± 0.1mm |
| Rim thickness (accuracy) | ± 0.1mm |
| Thread width (accuracy) | ± 0.1mm |
| Wheel diameter (accuracy) | ± 0.2mm |
| Wheel profiles (accuracy) | ± 0.1mm |

