Destructive tests with fibre-reinforced plastics
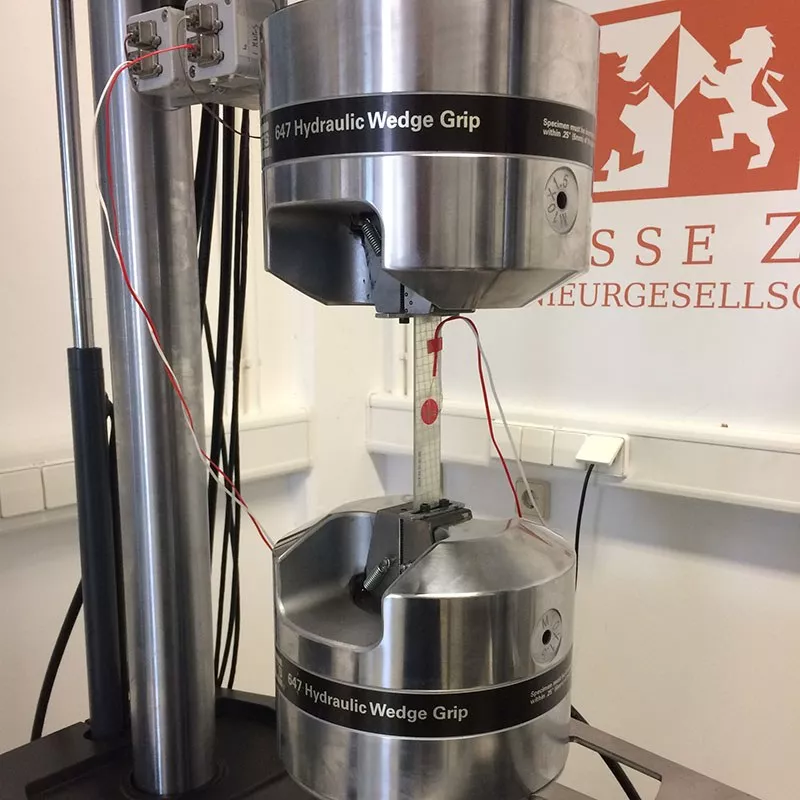
Grasse Zur Composite Testing operates an accredited materials testing laboratory, The company has specialised in testing fibre-reinforced plastics, especially for the automotive, aerospace, chemical and rotor blade industries. Since fibre-reinforced plastics have high specific stiffnesses and strengths, they are very suitable for lightweight construction. Grasse Zur carries out mainly destructive tests, i.e. a test sample is destructively tested in a universal testing machine by tensile, shear, compression or flexure testing in order to determine material characteristics.
Strain gauges measure changes
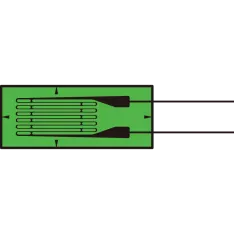
Strain gauges are a key tool for recording changes in the test samples under load. They measure the strain directly on the surface of the test specimen and are prescribed by various DIN standards for determining the material parameters of fibre-reinforced plastics. A strain gauge is a meandering metal conductor - usually made of constantan or karma - etched on a thin carrier (e.g. polyimide). It is applied to the sample mainly with specific adhesives. A strain gauge works as an electrical conductor that shows a change in electrical resistance due to compression or strain, which in return indicates a change in voltage and is thus converted into an electrical signal. The corresponding measuring device can provide both the voltage change in millivolts per volt and directly display the actual strain of the strain gauge in µm per m.
Larger strain gauges for a good measurement result
The strain gauges should each be as large as possible, i.e. have a measuring grid length of approx. 10 mm, in order to achieve good averaging over the tensile sample. With a fibre composite it is necessary that the strain gauge covers several fibre bundles, otherwise the measurement result will be incorrect.
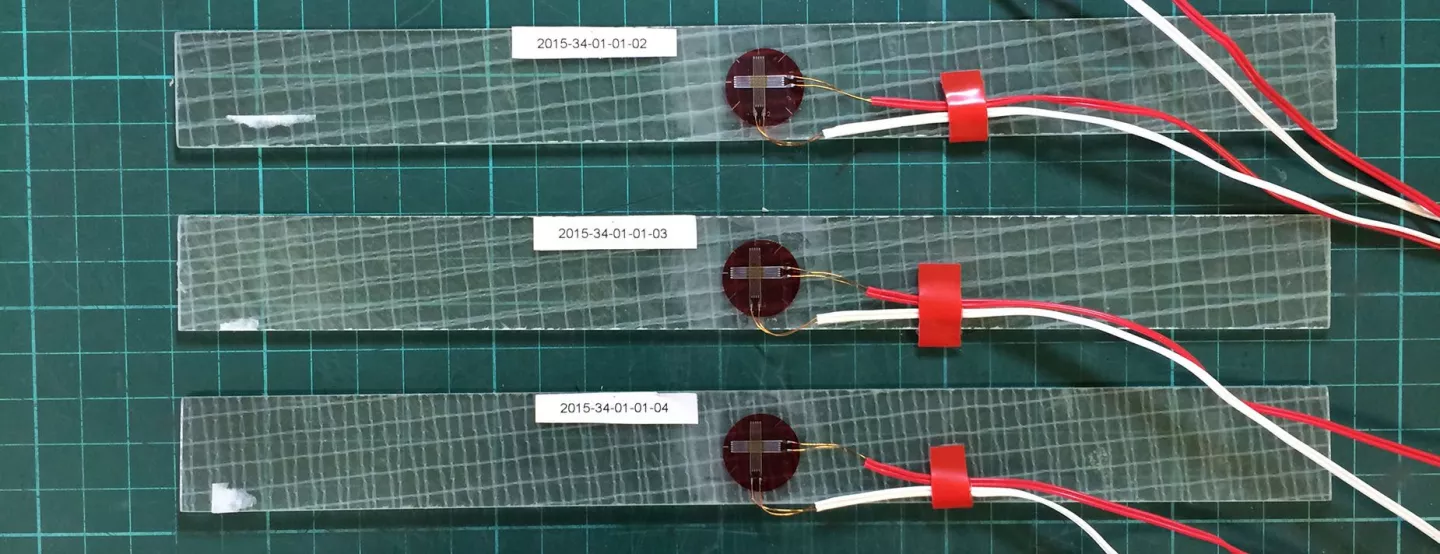
The strain gauges are then bonded to the sample in the longitudinal and transverse directions, depending on the test requirements: Mainly linear strain gauges are used, which measure a uniaxial stress state. However, there are also strain gauges for biaxial (0/90-degree strain gage or T rosette) and triaxial stress states (0/45/90-degree rosette). To make it easier for the user to attach the strain gauges, Althen offers the 0/90 and 0/45/90 variants ready-made. The advantage: only one strain gauge with the corresponding number of strain gauges has to be glued on, which already has the individual strain gauge grids optimally arranged.
Accurate bonding
Strain gauges at Grasse Zur are usually applied with a fast-drying cyanoacrylate or superglue type CN, which Althen also offers - an adhesive recommended by the manufacturer should always be chosen. The adhesive layer must be applied very thinly, otherwise the measurement would not be taken on the component but slightly above it. Inclusions due to air bubbles or dust grains must also be avoided, as they can also falsify the measurement result.
It is important to prepare the component before the bonding process so that the adhesive and strain gauge hold well. With fibre composites, a certain roughness on the surface is needed for optimal hold. However, the fibres of the composite material must not be damaged by grinding or roughening, otherwise the test will be falsified. This requires a lot of experience on the part of the employee so that he does not damage the fibres when roughening.
Material tests to determine certain material characteristics provide information on whether newly developed components will withstand future stresses. They also provide the necessary proof of quality for certain applications and industries.

Characteristic parameters: strength and stiffness
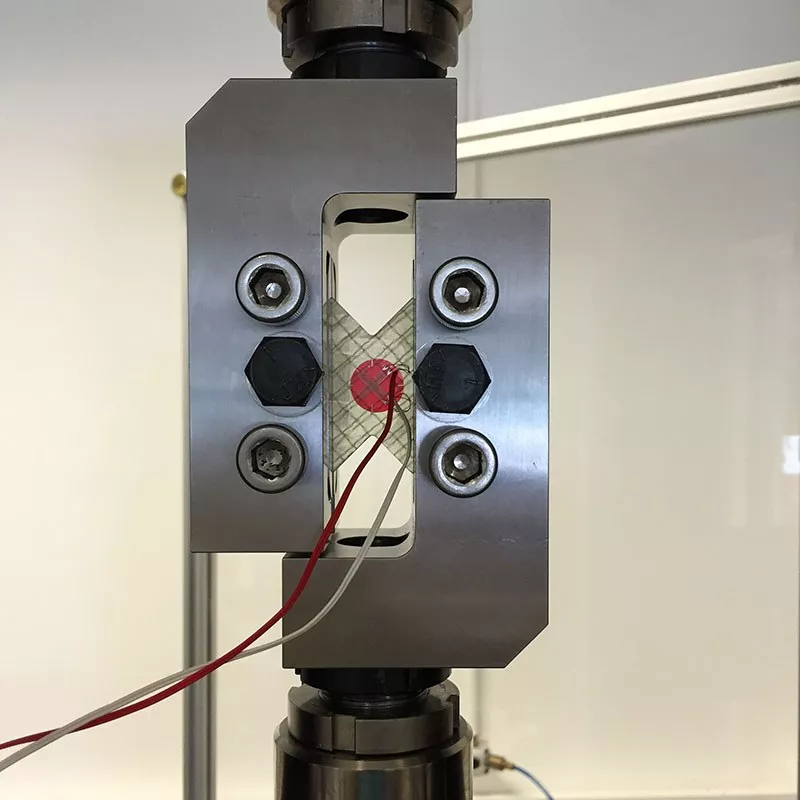
The strain gauge must hold well and securely during the test for two characteristic values: the determination of the strength and the determination of the stiffness of a test sample. The strength describes the maximum force at which the material is destroyed. For this purpose, the force is put in relation to the area. The maximum force in relation to this area is the strength; this parameter is determined at the end of the test procedure, at the moment of tearing.
The stiffness shows how much force must be applied to deform a test sample. The stiffness, in turn, is determined right at the beginning of the test, while the material behaviour is still in the linear-elastic range. At this point, the sample could return to its original shape when the tensile process is stopped. Another parameter is the strain at break. In order to determine it, a good bonding is required.
Strain gauges with integrated cable connections
An added value of the strain gauges is the optionally already integrated wiring, which means a significant time saving for the customer during application, as Dr. Fabian Grasse confirms: "The strain gauge can be glued on and connected directly, without soldering, and is thus immediately ready for use after gluing. This is an enormous time advantage for us compared to strain gauges that have to be soldered."
Most accurate characteristic value determination thanks to strain gauges
The testing of materials with regard to their characteristic material values is complex and often safety-relevant. Acknowledged experts such as Grasse Zur rely on strain gauges from measurement specialist Althen, a technology that is the more sophisticated but also a much more accurate method of determining strain than, for example, laser or video extensometers. Dr. Fabian Grasse: "Our goal is to measure exact strain values - the strain gauges from Althen have been the basis for this since the foundation of our testing laboratory."
Related products
GFLA Series Strain Gauges for Plastic Use
- Strain limit 3% (30000×10⁻⁶ strain)
- Operational temperature: -20~+80°C
- Reduced effect of Joule heat in strain gauges
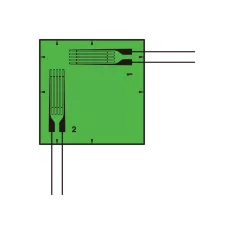
GFCA Series Strain Gauges for Plastic Use
- Strain limit 3% (30000×10⁻⁶ strain)
- +10~+80°C temperature compensation
- Dual element 0°/90° plane type
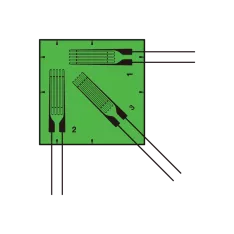
GFRA Series Strain Gauges for Plastic Use
- Strain limit 3% (30000×10⁻⁶ strain)
- Special plastics backing, Cu-Ni alloy foil
- 3-element 0°/45°/90° plane type

